ECORASTER® Installation At Our Place
December 2017
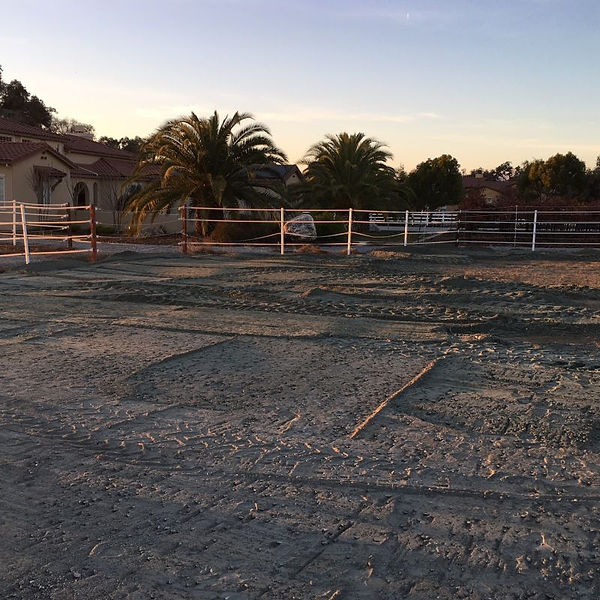
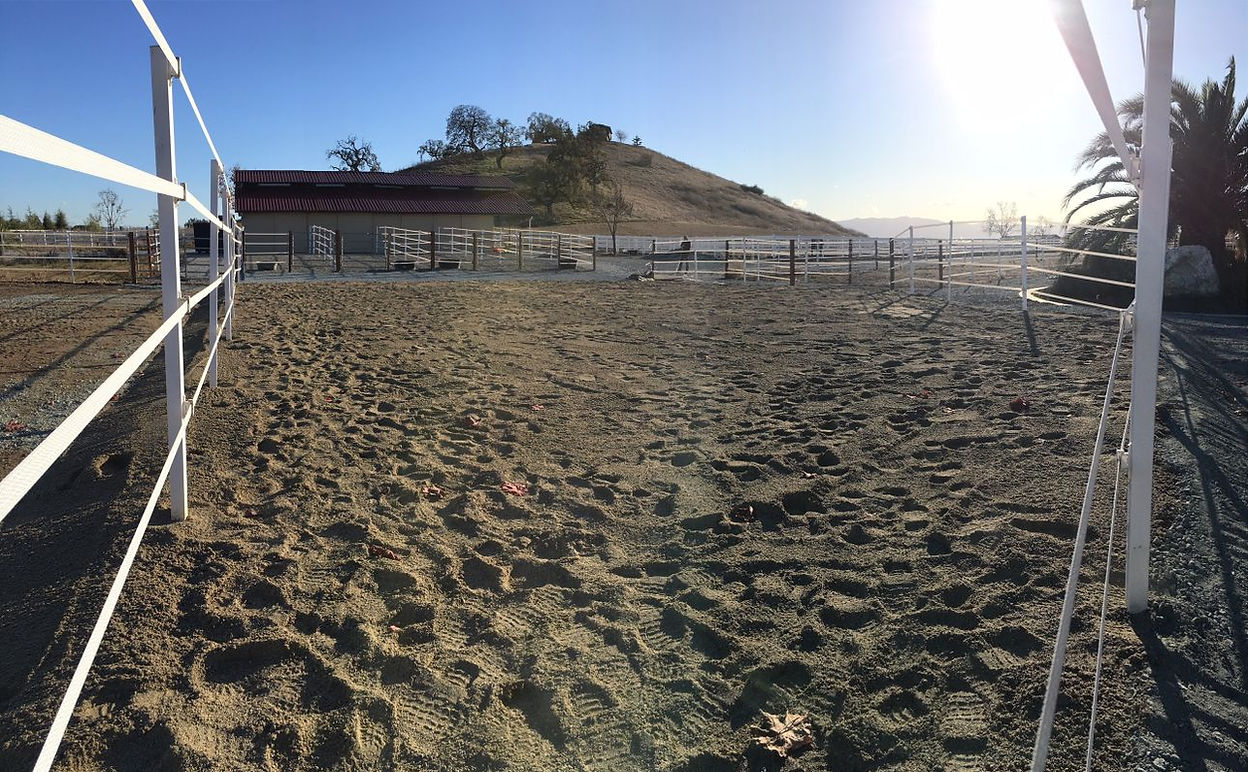
Before Pictures:
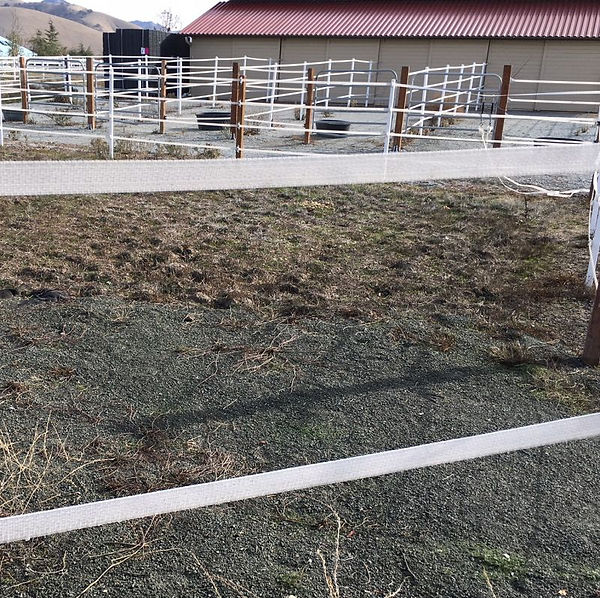
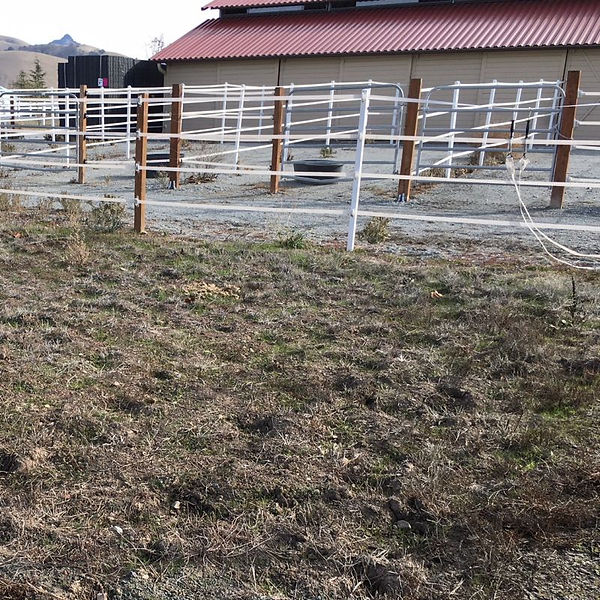
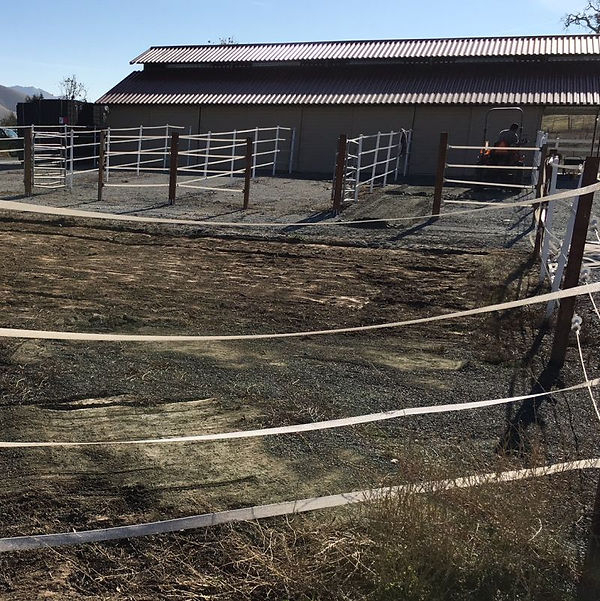
Above you see the area that will be transformed into a winter turnout area and mud proof barn paddocks. The paddocks have already base rock on them and are graded with a slope. They held up pretty well throughout the last winter, but since we do the turnout area, we decided to add ECORASTER® to those too. You can see the dried mud in these pictures. Below are two photos of how sloppy it actually got in that area when it rained.
Day 1
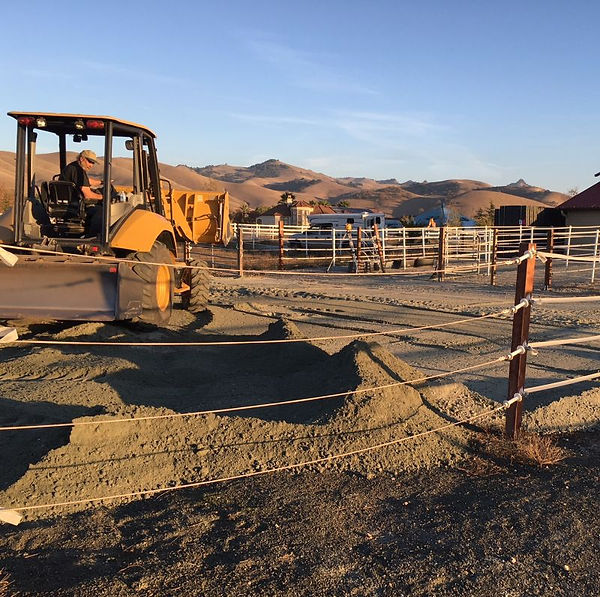
Day one is spent with grading the area, weeding and taking some of the base rock off the barn paddocks to create space for the grids.
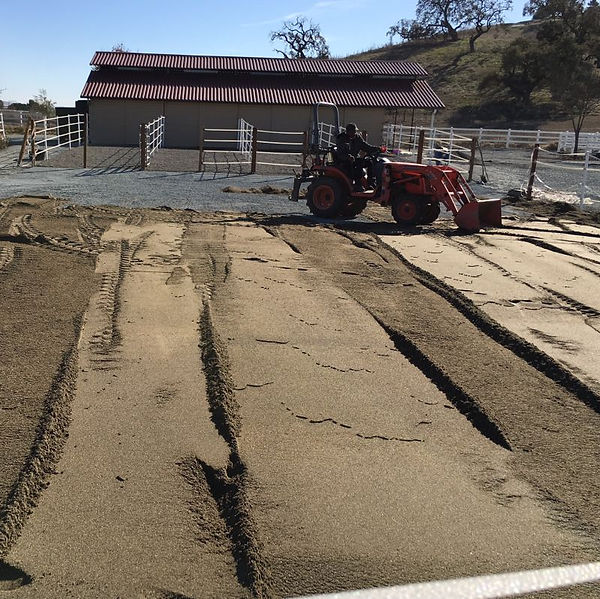
Class 4 base rock is added to the future turnout area and spread with the skip loader.
Day 2
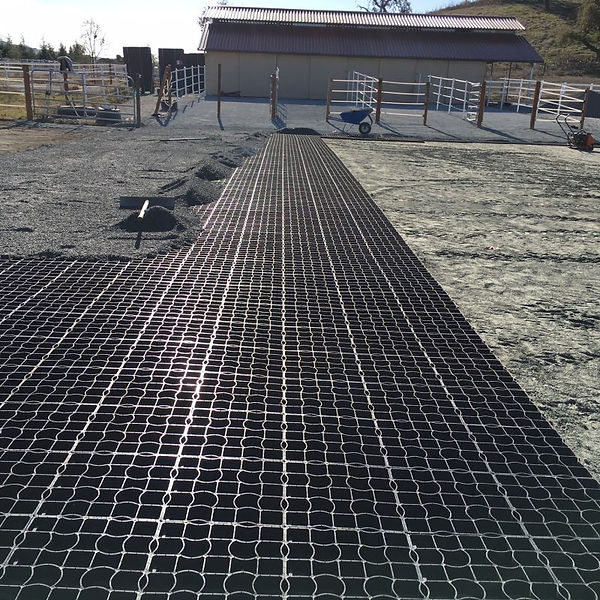
Starting close to the barn, the first ECORASTER® sheets are laid out on top of the base and fitted around the fence posts. Since the barn paddocks had been compacted before, there is no need to do it again.
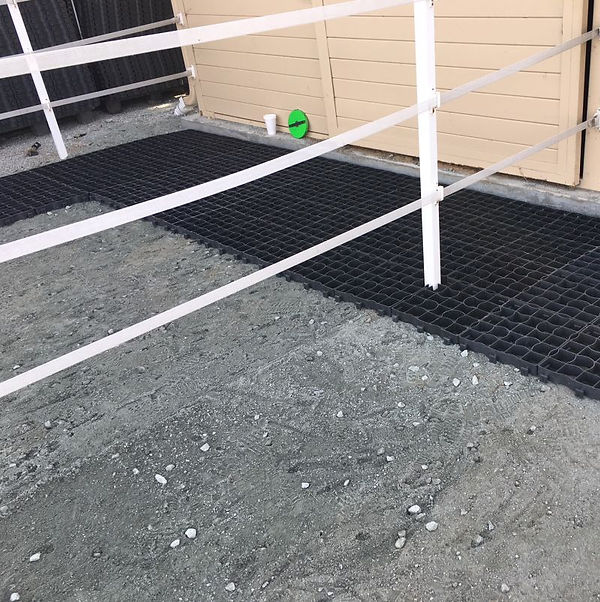
The ECORASTER® grids are filled with crushed quarter chips, which then are compacted with a vibratory plate. The base rock for the turnout area is graded now, but still needs to be watered and compacted before the grids go on top.
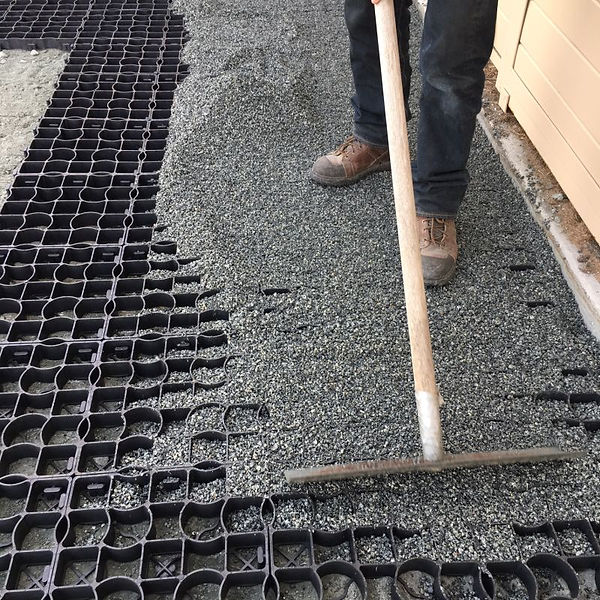
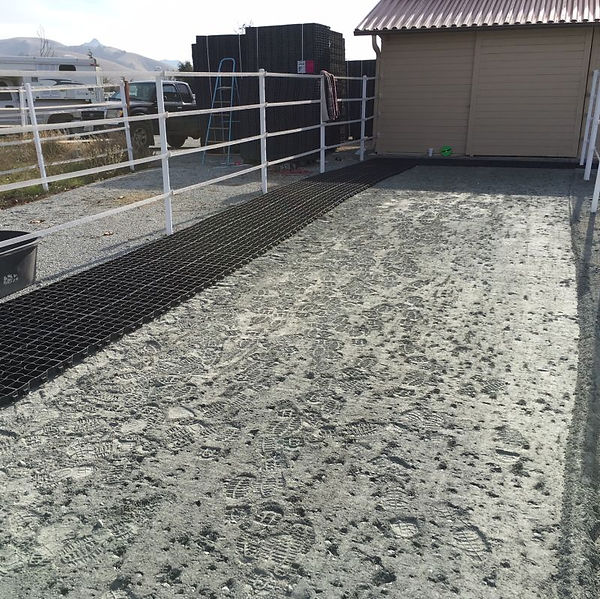
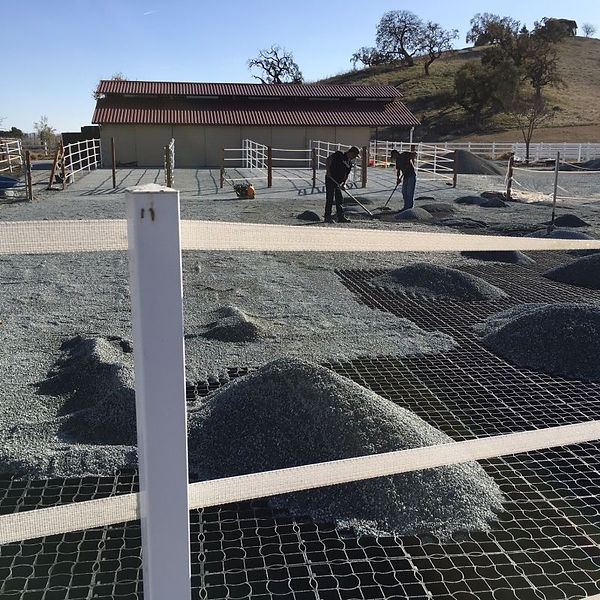
Day 3
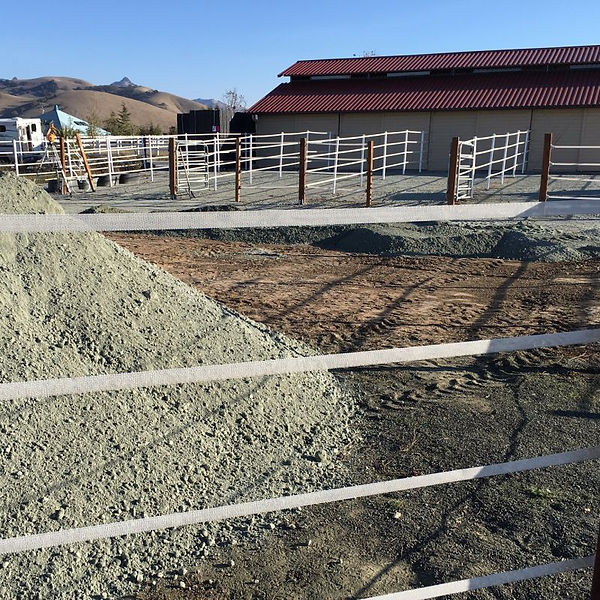
After the compacting of the graded base rock in the turnout area, the ECORASTER® sheets are laid out and again filled with the washed chips.
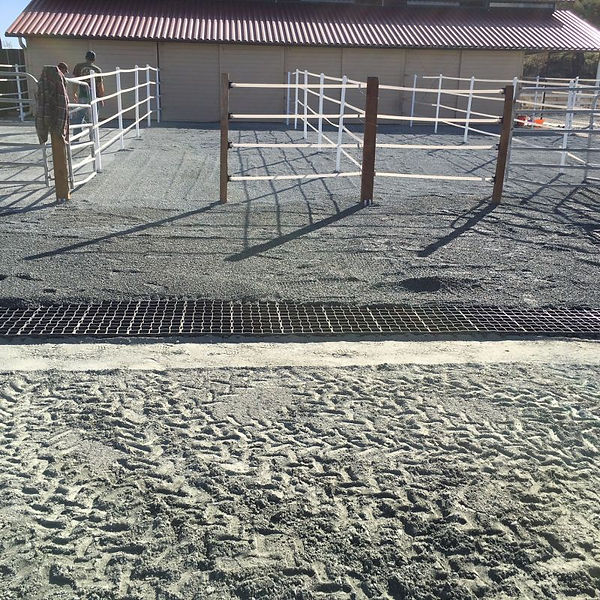
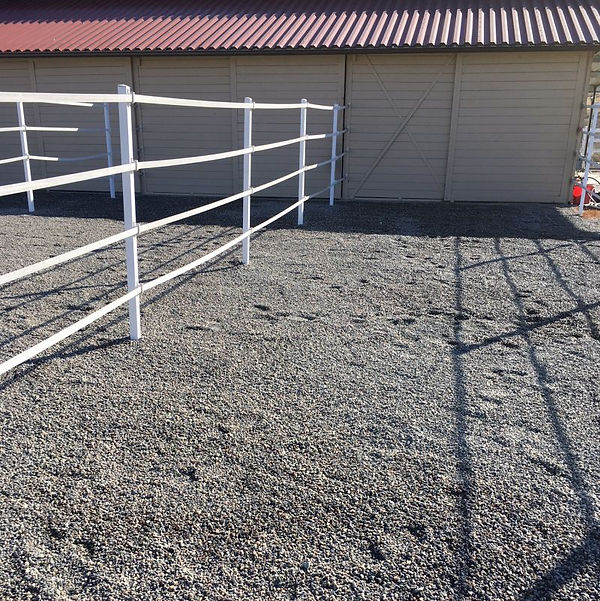
This is how the compacted barn paddocks look. They are now ready for their final layer of pea gravel.
We chose pea gravel, because it's good for the horses' hooves. But we could have also just left it without anything else.
Day 4
While the barn paddocks are topped off with pea gravel, the turnout area gets compacted with the vibratory plate, before a final layer of sand is added.

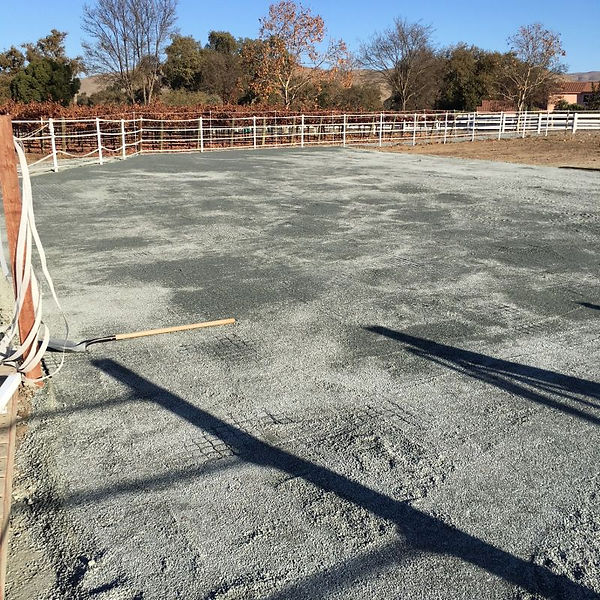
The turnout area was graded with a slight downward slope towards the barn paddocks, as this is where the water naturally flows. A few feet below the barn paddocks is the lowest spot, where any rain will pass through. We will leave that area without a top layer, so it won't be washed out right away.
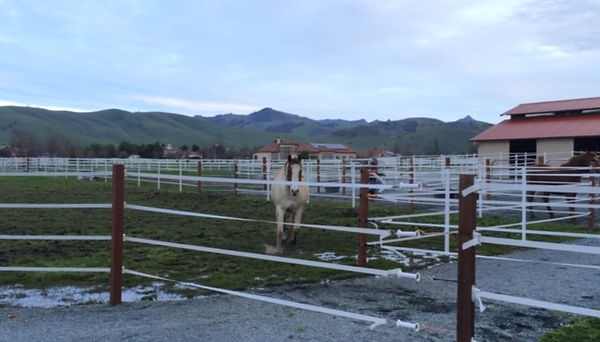
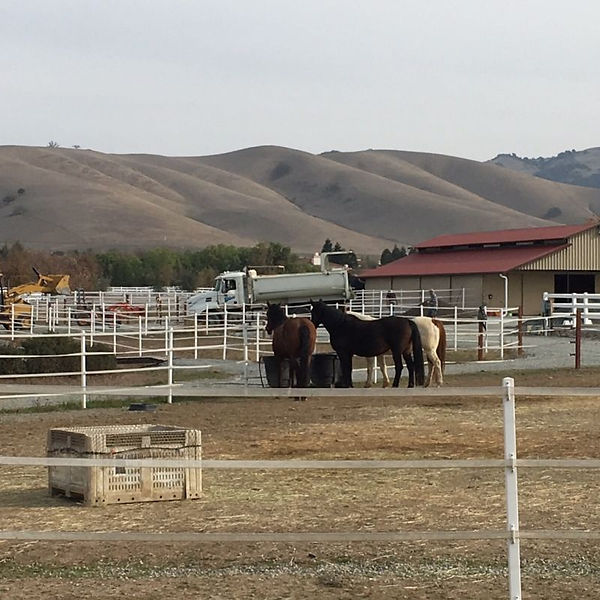
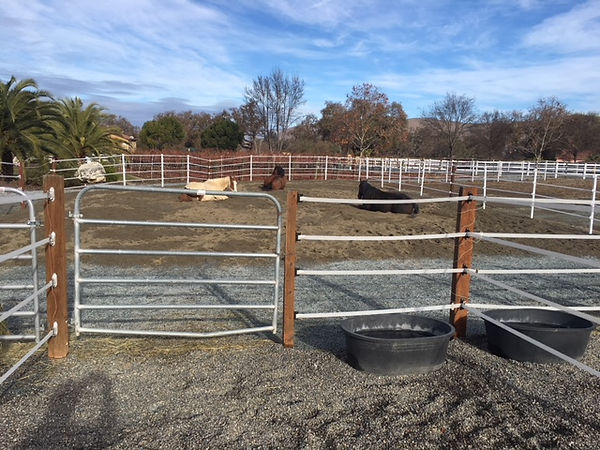
The horses are supervising from their summer residence if everything is done correctly.
Almost done! Waiting for one more gate and the horses can move into their new winter residence!
Many thanks to our contractors Bruce and Carol from Building The Equestrian Dream
Update:
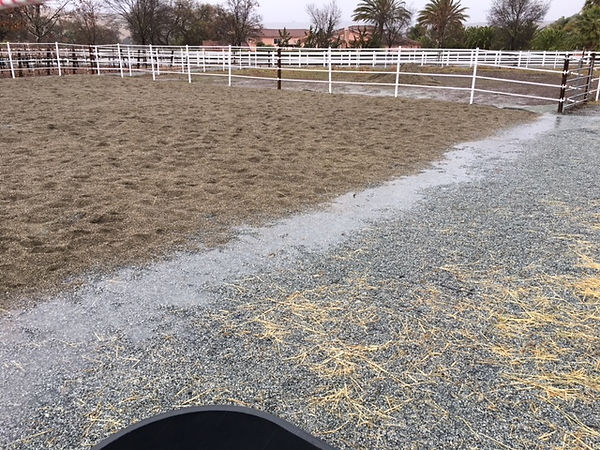
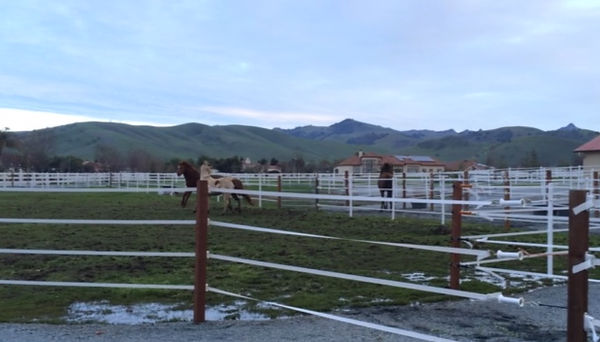
First time on the new turnout, the horses love it!
The area works exactly as intended during our first storm of the season. You can see the water collecting at the lowest point and it flows off with the slope. Even though there is a temporary puddle, it's not slippery or deep, and best of all, the horses stay clean even if they decide to roll in the sand!